Replacing floor tiles is a fantastic way to revamp your home’s interior without breaking the bank. Whether you’re aiming for a fresh look or fixing damaged tiles, tackling this DIY project can save you money and empower you to create the perfect space. This thorough guide walks you through the steps of replacing floor tiles, from initial planning to final finishing touches, with practical tips and insights. We’ll address common challenges and equip you with the necessary knowledge and confidence to complete this task effectively. This article will cover planning, preparation, the actual tile replacement procedure, and finishing touches.
Planning and Preparation: Laying the Foundation for achievement
Assessing the Situation and Planning Your Project
Careful planning is critical when tackling a tile replacement project. First, evaluate the current condition of the tiles and determine the scope of the work. Are you replacing a small area or the entire floor? Will you be using the same tile or a varied one?
Consider the available space, your budget, and the resources you’ll need for the task.
Choosing the Right Materials and Tools
selecting the right materials is essential for a achievementful project. Carefully consider the type of tiles, adhesives, grout, and tools required. High-quality materials will ensure durability and a professional finish. Some materials may be more suitable for your home or personal preferences.
Consider factors like style, color, size, and overall aesthetic.
Safety Precautions: Protecting Yourself and Others
Before starting the replacement process, put your safety first. Wear appropriate safety gear like eye protection, gloves, and sturdy work shoes. Ensure adequate ventilation if using harsh chemicals, and avoid working in dusty conditions. Be mindful of potential hazards like falling debris and sharp edges.
Safety is paramount. Be prepared for unexpected challenges.
Tile Removal: Getting Started
Removing Old Tiles: A Step-by-Step Guide
The first step in replacing floor tiles involves carefully removing the existing tiles. Use a tile cutter to carefully cut around the edges of the tiles you want to replace. Use a chisel and hammer to gently remove any remaining adhesive.
Handling Debris and Waste Management
Thoroughly clean the area where the old tiles were removed. Dispose of the waste materials appropriately to avoid safety issues and environmental problems. Proper waste disposal is crucial.
Tile Installation: Setting the New Tiles
Preparing the Subfloor: Creating a Stable Base
Before installing the new tiles, ensure the subfloor is clean, level, and properly prepared for bonding. This step is crucial for a lasting outcome, as a stable base ensures that the new tiles remain secure over time.
Applying Adhesive: Ensuring a Strong Bond
Use a thin layer of high-quality adhesive, applying it evenly across the subfloor where the new tiles will be placed.
Avoid applying too much adhesive. Excess adhesive can cause problems.
Finishing Touches: Achieving Perfection
Grouting: Filling the Gaps
Once the tiles are in place, use grout to fill the spaces between them, following the manufacturer’s instructions for optimal outcomes. This step ensures a seamless and aesthetically pleasing finish.
Sealing the Grout: Protecting Your Investment
Apply grout sealant to protect the grout and prevent water damage or staining. Grout sealing enhances longevity and prevents discoloration.
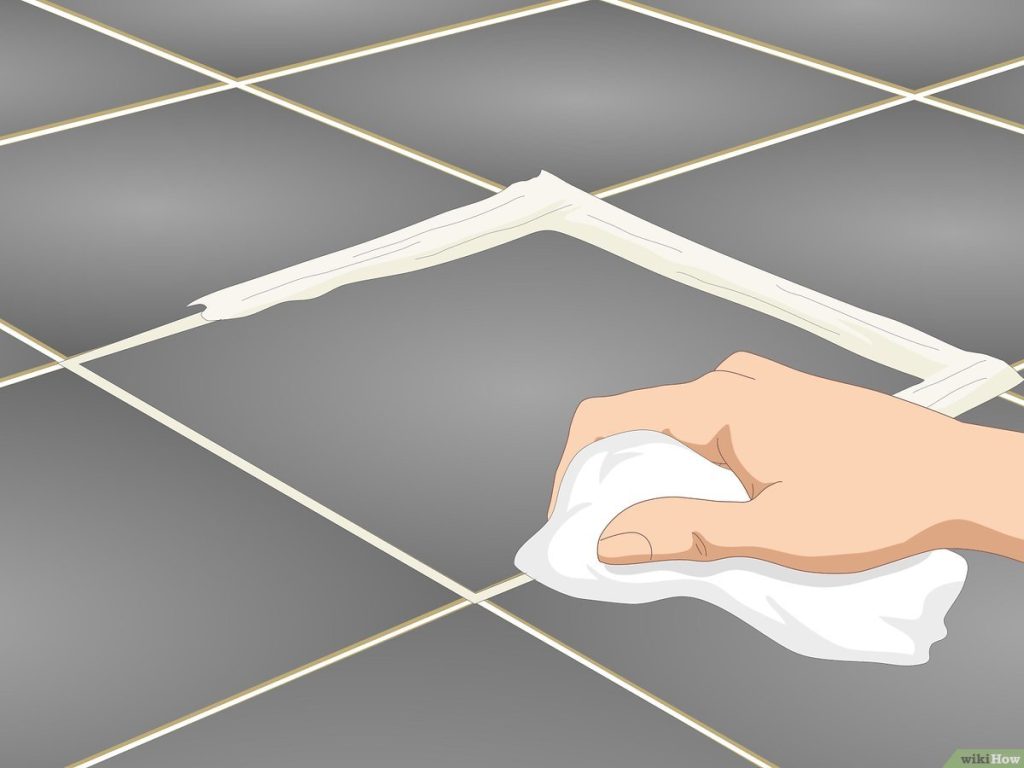
Cleaning and Maintenance: Maintaining a Pristine Floor
Thoroughly clean the floor after installation, following the instructions for tile and grout care. Regular maintenance helps maintain its beauty and longevity.
Troubleshooting Common Issues
Uneven Tiles: Addressing Leveling Problems
Use a spirit level to ensure the tiles are perfectly leveled during installation. If tiles are uneven, you may need to adjust the subfloor.
Adhesive Failure: Fixing Issues with Bonding
If adhesive fails to adequately bond the tiles, you may need to remove and re-apply.
Grout Issues: Tackling Imperfections
If grout has issues, you may need to remove and reapply. This can be avoided with careful attention to installation.
In conclusion, replacing floor tiles is a rewarding DIY project that can significantly improve the aesthetic appeal and value of your home. By following the steps outlined in this guide, you can tackle this task with confidence and achieve professional outcomes. Remember to plan ahead, select the right materials, and prioritize safety throughout the process. If you’re still hesitant or encounter difficulties, consider hiring a professional tile installer for a flawless outcome. Want to transform your flooring? Start your floor tile replacement project today! Contact us for a complimentary quote!