Mastering DIY floor installation can transform your home into a stylish and cost-effective project. This thorough guide offers an in-depth look at the essential steps involved, ensuring you can confidently tackle the task yourself. Homeowners often face challenges like choosing the right materials and understanding intricate installation procedures. This guide will remove these hurdles, walking you through the entire process with detailed instructions and practical examples for various flooring types. We’ll cover everything from preparing the subfloor to finishing the final touches, making sure you’re ready for achievementful DIY installation. This guide’s structure will walk you through the entire process – prepping the subfloor, selecting materials, installation techniques, and finishing touches.
Understanding Your Flooring Options
selecting the Right Flooring Material
Choosing the right flooring material is the first crucial step in DIY floor installation. The choice depends largely on your budget, aesthetic preferences, and the specific needs of the room. Factors like durability, moisture resistance, and overall style must be carefully weighed before making a decision. Consider options like hardwood, laminate, tile, or vinyl. Hardwood floors, renowned for their timeless elegance, require specialized tools and techniques. Laminate floors, a more budget-friendly option, are easier to install and maintain. Tile is a highly durable choice suitable for high-traffic areas, while vinyl offers versatility and affordability. Each material type necessitates varied installation procedures, which we will discuss in detail.
Preparing the Subfloor for achievement
Assessing and Leveling the Existing Subfloor
Before laying down your chosen flooring, ensure that the subfloor is in optimal condition. Any imperfections, such as uneven surfaces or cracks, must be addressed to prevent issues with the final installation. Proper subfloor preparation is essential for a stable, long-lasting floor. Measure and mark the uneven areas with a level to assess the floor’s flatness and calculate the necessary adjustments. This step is crucial for a seamless installation. Use shims or leveling compounds to correct any significant irregularities, ensuring a flat and stable foundation for your new flooring. Using a self-leveling compound can address larger dips or gaps. You need to be meticulous when dealing with these subfloor preparations.
Laying the Foundation
Installing the Underlayment
Installing underlayment is a crucial step in creating a comfortable and durable floor. This layer acts as an insulator, cushioning the flooring and improving its soundproofing properties. Consider the specific needs of your flooring type when choosing an underlayment. Some options offer extra cushioning for comfort, while others offer boostd soundproofing, making your space more tranquil and conducive to relaxation. If you’re using hardwood or laminate, you want a durable layer that can handle high traffic. Properly laying the underlayment creates a comfortable and supportive foundation for your chosen flooring material.
Installation Techniques
Step-by-Step Guide to Various Flooring Types
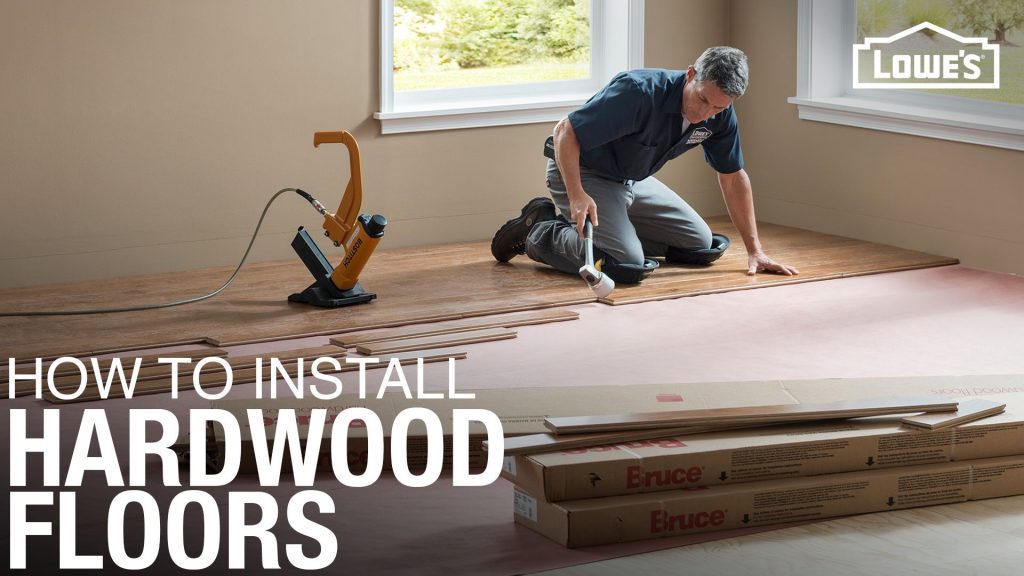
The installation techniques for various flooring materials differ significantly. Understanding these distinctions is key to achievementful DIY floor installation. Consider hardwood, laminate, tile, and vinyl. Hardwood installation requires precise measurements, careful cutting, and meticulous attention to detail to achieve a seamless finish. Laminate installation, on the other hand, is often easier to manage. Tile installation demands specialized tools and techniques, ensuring a tight and even grout line. Vinyl installation is generally more straightforward.
Finishing Touches
Securing the Final Layer and Inspection
Once the flooring is laid, take time to meticulously secure the edges and corners. Consider using various trims to finish these areas. A final inspection is essential to determine and address any potential issues, such as gaps or uneven joints. This ensures a professional-looking finish. Remember to pay attention to the final touches to ensure a flawless installation.
In conclusion, mastering DIY floor installation is a rewarding project that can save you money and enhance your home’s aesthetics. By following a structured approach, understanding various flooring options, and practicing proper installation techniques, you can confidently tackle this task. Remember to prioritize safety, accuracy, and patience throughout the process. Ready to elevate your home’s interiors with a DIY touch? Visit our website to explore more flooring tutorials and inspiration.